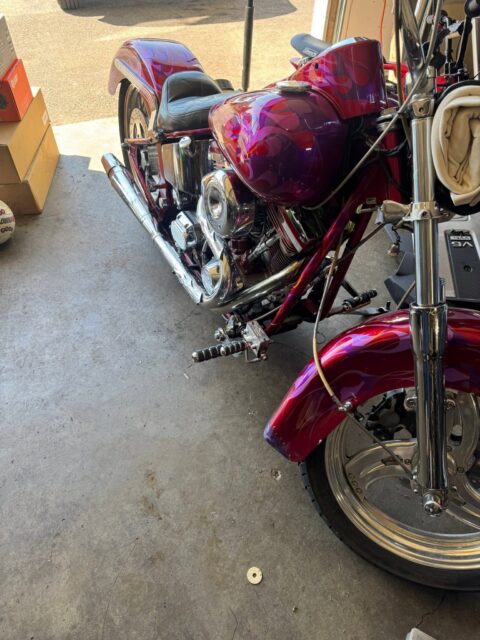
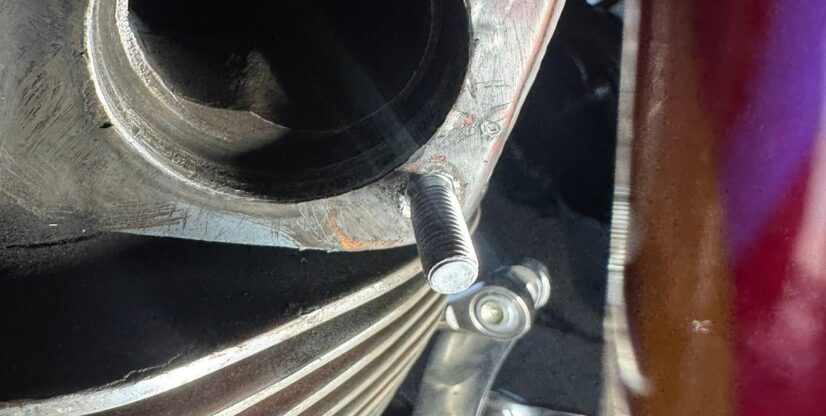
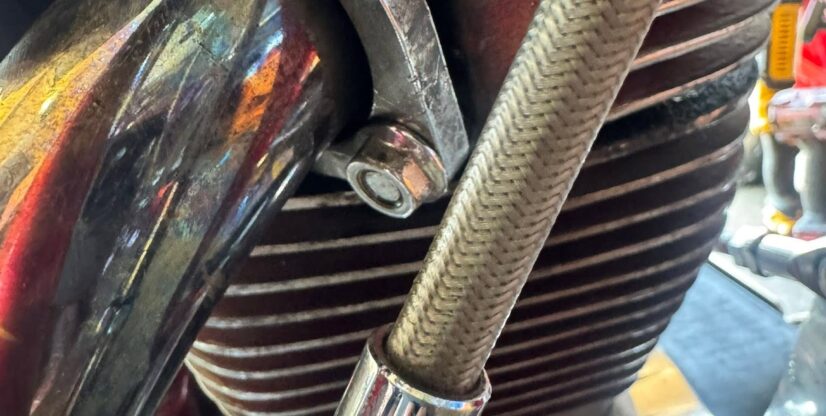
A broken exhaust stud might seem like a small problem, but anyone who’s worked on motorcycles knows that a little piece of broken metal can quickly turn into a big headache.
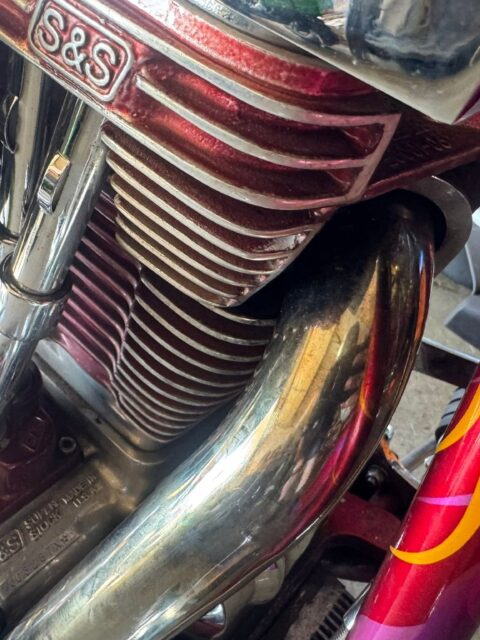
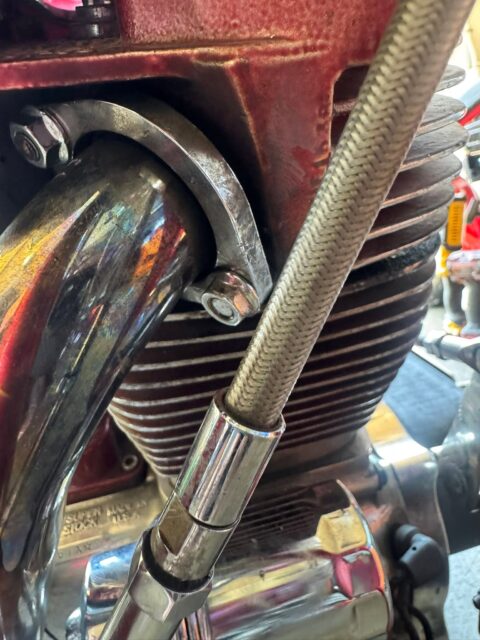
This motorcycle needed a broken exhaust stud removed so the exhaust system could be properly secured again. Exhaust studs deal with constant heat, vibration, and exposure to the elements, which can make them stubborn to remove, especially when one breaks off.
The challenge was getting the broken stud out without damaging the surrounding engine components or threads. It’s the kind of precision repair that requires patience, the right tools, and a steady hand. Sometimes the smallest repairs require the most careful work!
The first step was evaluating the broken exhaust stud and determining the best approach for removal. With exhaust hardware, it's important to understand what you're working with before attempting to extract anything, especially when the stud is broken close to the engine.
With the necessary surrounding components out of the way, I removed the old turbochargers and installed their replacements. I also replaced the turbo boost control valve, an important part of managing boost pressure and keeping the turbocharging system operating as intended.
2. Carefully Removing the Stud
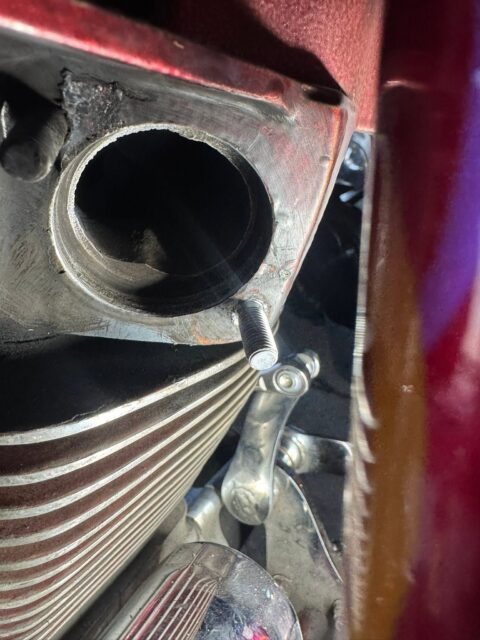
The main focus of the repair was extracting the damaged stud while protecting the surrounding metal and mounting threads. This is where patience really pays off. Rushing a job like this can turn a relatively straightforward repair into a much more expensive problem.
Replacing the converters involved working with the exhaust connections and components surrounding the turbo system. With both converters replaced, this portion of the exhaust system had the new components it needed to do its job.
3. Preparing for Reassembly
Once the broken stud was removed, the mounting area could be inspected and prepared for replacement hardware. The goal was to restore a proper fastening point so the exhaust system could be securely mounted again.The calipers apply pressure to the pads, while the pads and rotors provide the friction needed to slow the vehicle. Replacing these components together addresses multiple wear points in the front braking system rather than just swapping pads and calling it a day.
Results
What started as a small but frustrating mechanical problem was addressed with a careful, targeted repair.
Not every repair involves replacing an engine or rebuilding a transmission. Sometimes the biggest victory is getting one tiny piece of broken metal out of a place it really doesn’t want to leave!